


Description
Material Safety Data | SC-4830JUD User Manual | Solar How To Guide
Product Overview
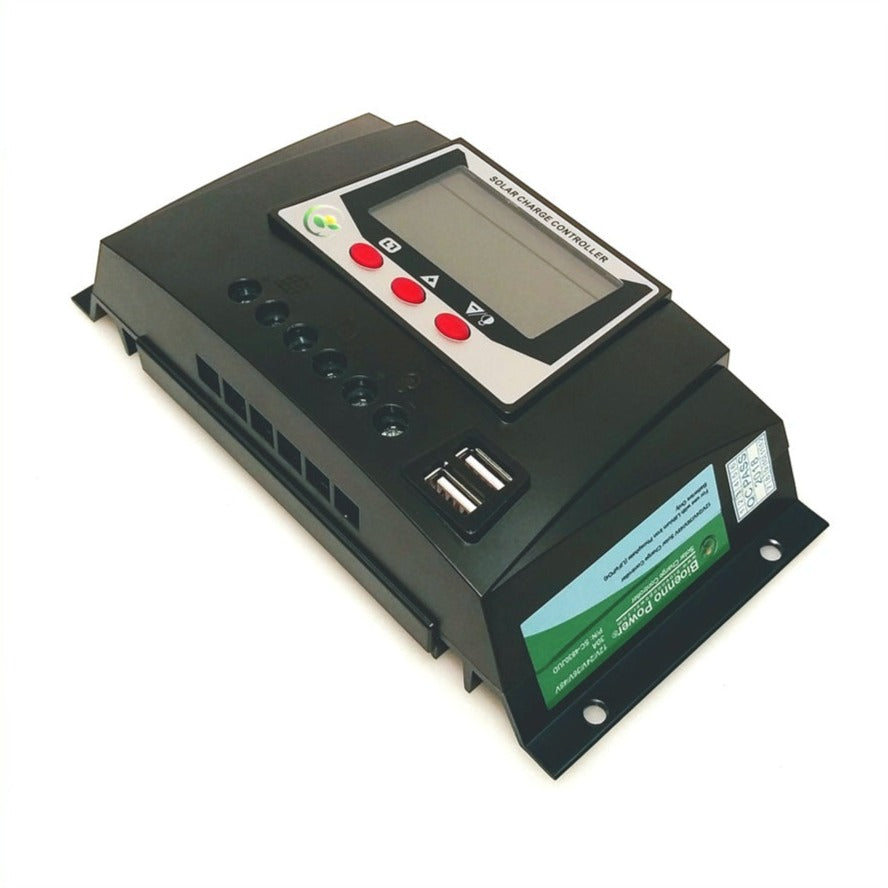
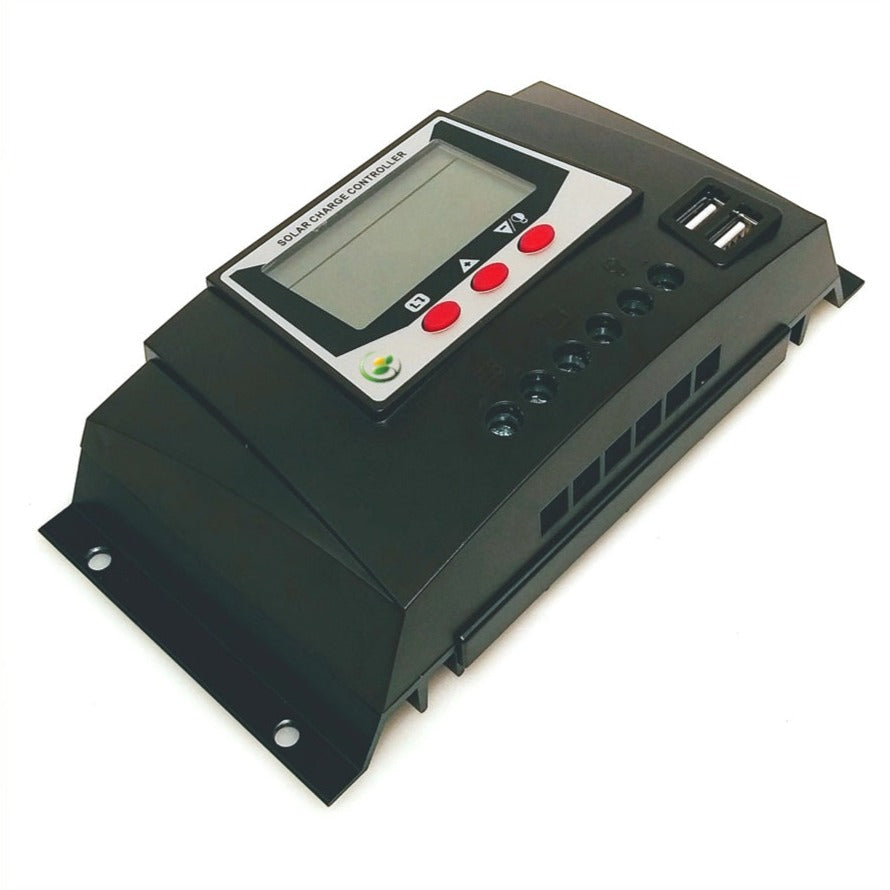
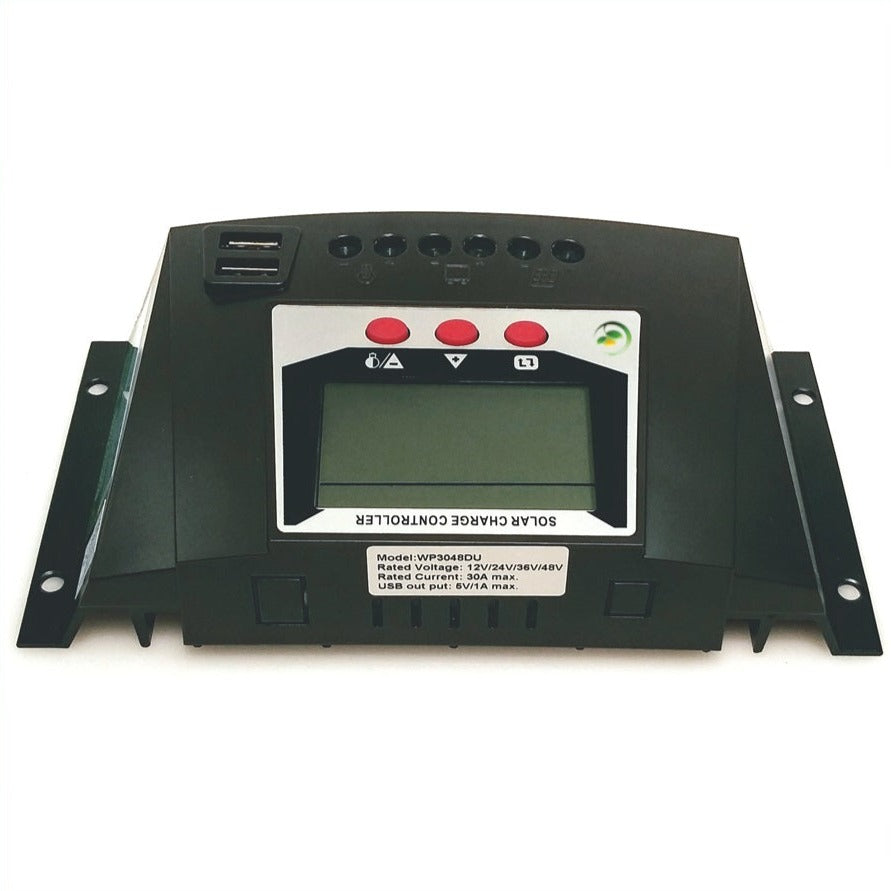
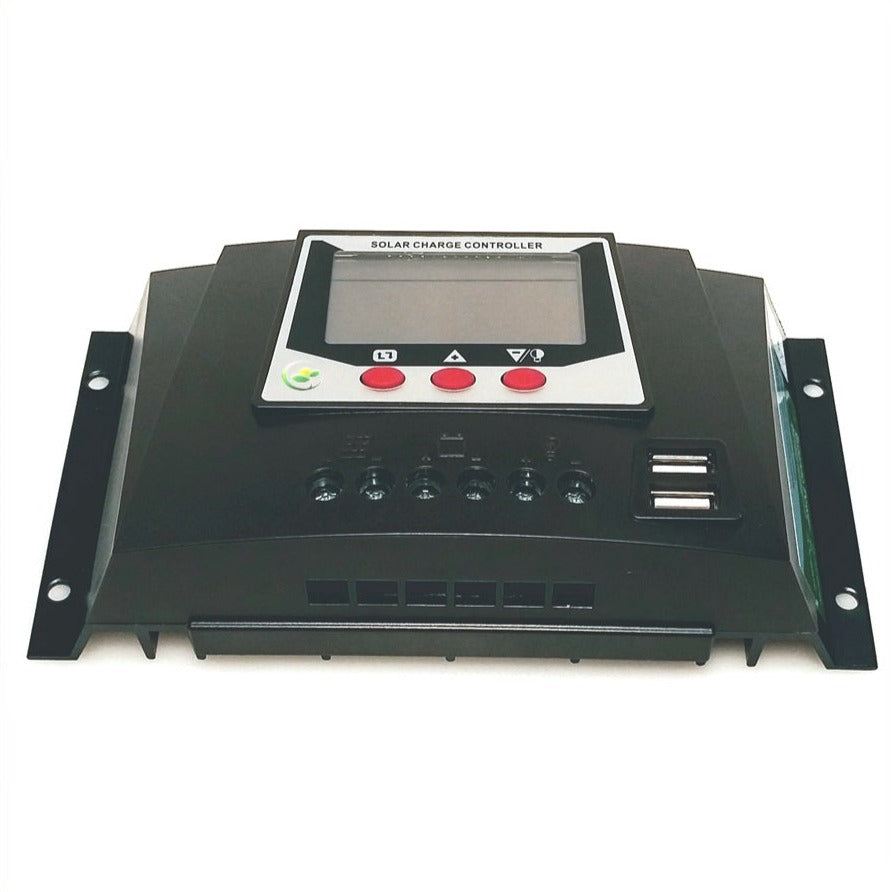
The Bioenno Power 12V/24V/36V/48V, 30A Solar Charge Controller (Model SC-4830JUD) is a versatile, intelligent controller designed to manage and optimize solar power delivery to LiFePO4, AGM, and SLA batteries. With support for system voltages up to 48V and a rated current of 30A, it’s ideal for multi-voltage solar applications in off-grid and mobile power systems. This controller is equipped with a digital LCD display and integrates CC/CV charging technology for maximum efficiency and battery protection.
Key Features
1. Broad Voltage Compatibility
-
Supports 12V, 24V, 36V, and 48V battery systems (auto-detection)
-
Accepts solar panel input voltages from 17V to 50V (open circuit)
-
Compatible with LiFePO4, Li-ion, AGM, and SLA battery types
2. Smart Charge and Load Management
-
Output Voltage: Regulated to match battery system (12V–48V)
-
Charge Current: Up to 30A
-
Load Current: Up to 30A
-
Charging Mode: Constant Current / Constant Voltage (CC/CV)
-
USB Output: Dual 5VDC/1A ports for powering accessories
3. Intelligent Display and Safety
-
Integrated LCD screen for voltage, charge status, and system diagnostics
-
Regulates both battery charging and power to connected loads
-
Designed to prevent direct solar panel-to-load/battery connection
4. Efficient and Compact
-
Dimensions: 7.3 in. x 3.66 in. x 2.08 in. (186 mm x 93 mm x 53 mm)
-
Weight: 0.84 lbs. (0.38 kg)
-
No Load Loss: <13 mA
-
Operating Temperature: -31°F to 131°F (-30°C to 50°C)
Important Notes
-
This unit does not boost voltage but regulates higher input voltages down to proper battery charge levels.
-
A solar charge controller is required in any system using solar panels with batteries or loads.
-
Do not connect solar panels directly to batteries or loads without this controller.
- To setup for LiFePO4 batteries: Connect the battery first to the controller. Do not connect the solar panel yet. Let the controller boot up. Tap the triangle up or triangle down button until USE1 or USE2 is showing. Hold down the menu button until the screen is flashing. Tap the triangle up or triangle down button until 3.2--4 is showing. Hold the menu button down. The controller will reboot. Connect the solar panel now.
- To setup for SLA/AGM batteries (sealed absorbed glass mat): Connect the battery first to the controller. Do not connect the solar panel yet. Let the controller boot up. Tap the triangle up or triangle down button until USE1 or USE2 is showing. Hold down the menu button until the screen is flashing. Tap the triangle up or triangle down button until SLD is showing. Hold the menu button down. The controller will reboot. Connect the solar panel now.
- To setup for SLA/Flooded (add the acid or liquid) batteries: Connect the battery first to the controller. Do not connect the solar panel yet. Let the controller boot up. Tap the triangle up or triangle down button until USE1 or USE2 is showing. Hold down the menu button until the screen is flashing. Tap the triangle up or triangle down button until FLD is showing. Hold the menu button down. The controller will reboot. Connect the solar panel now.
Policy Information
- Shipping: Standard
- Returns/Exchange: 30 Days
- Warranty: See Separate Warranty Page