A solar generator sounds like one product. It's really four jobs handled by four parts. Panels collect sunlight, a controller manages it, a battery stores it, and an inverter turns it into household power. If you're weighing a custom build against a boxed unit from EcoFlow, Jackery, or Goal Zero, understanding those parts is the whole decision. Below you'll find the parts list, the sizing math, a safe order of operations for wiring, and an honest look at when buying ready-made is the smarter move.
What a Solar Generator Really Is Under the Hood
Strip away the branding and a solar generator is a battery, a solar charge controller, and an inverter working together, so panels can charge storage and that storage can run household or camp loads. You can assemble it from separate parts or buy it as one boxed unit. Same four jobs inside either way: generate, regulate, store, convert.
Panels generate. The charge controller regulates what flows into the battery, and the battery holds onto it. Then the inverter converts that stored DC power into AC for things like a laptop charger or a small appliance.
The battery is the core of all this. It sets how much you can run, how long you can run it, and how often you'll be thinking about a replacement. That's why careful builders tend to start with a LiFePO4 battery (lithium iron phosphate).
The Parts List for a LiFePO4 Solar Generator
Treat the build as a short checklist. Each part has one job. Each one also has to be compatible with its neighbors.
- A 12V LiFePO4 battery sized to your daily energy use
- Solar panels matched to your battery and controller
- A solar charge controller (PWM or MPPT)
- An inverter sized to your largest AC load
- Fuses or breakers, plus a battery disconnect switch
- Correctly sized cabling, connectors, and a battery monitor
The Battery and Why LiFePO4 Fits
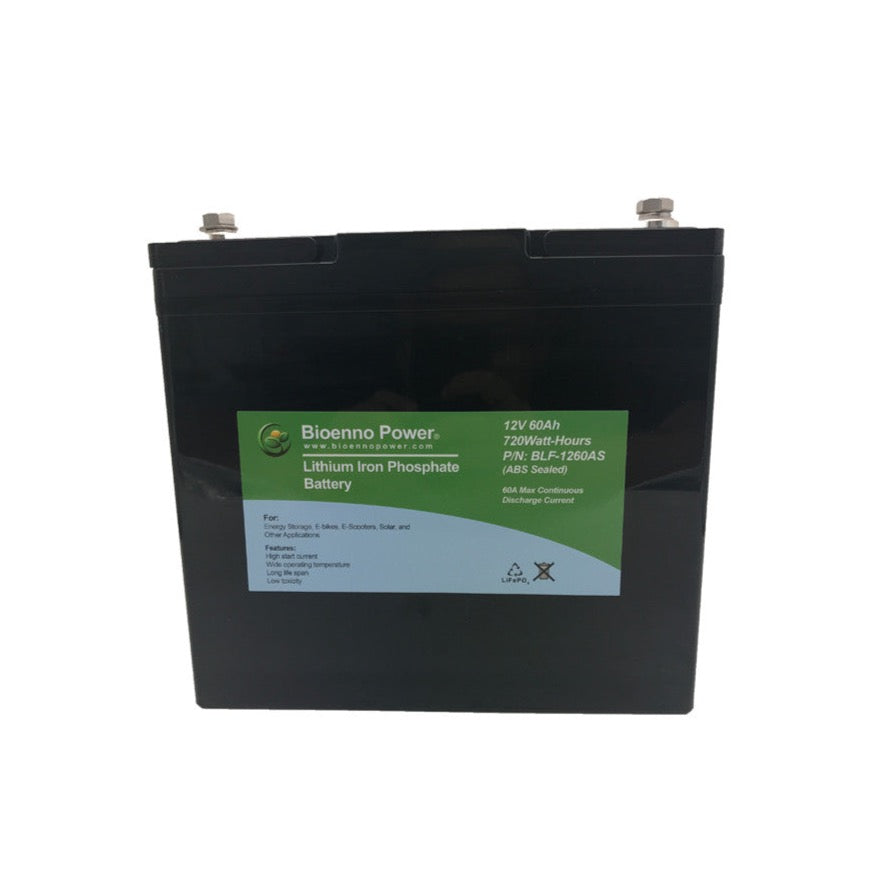
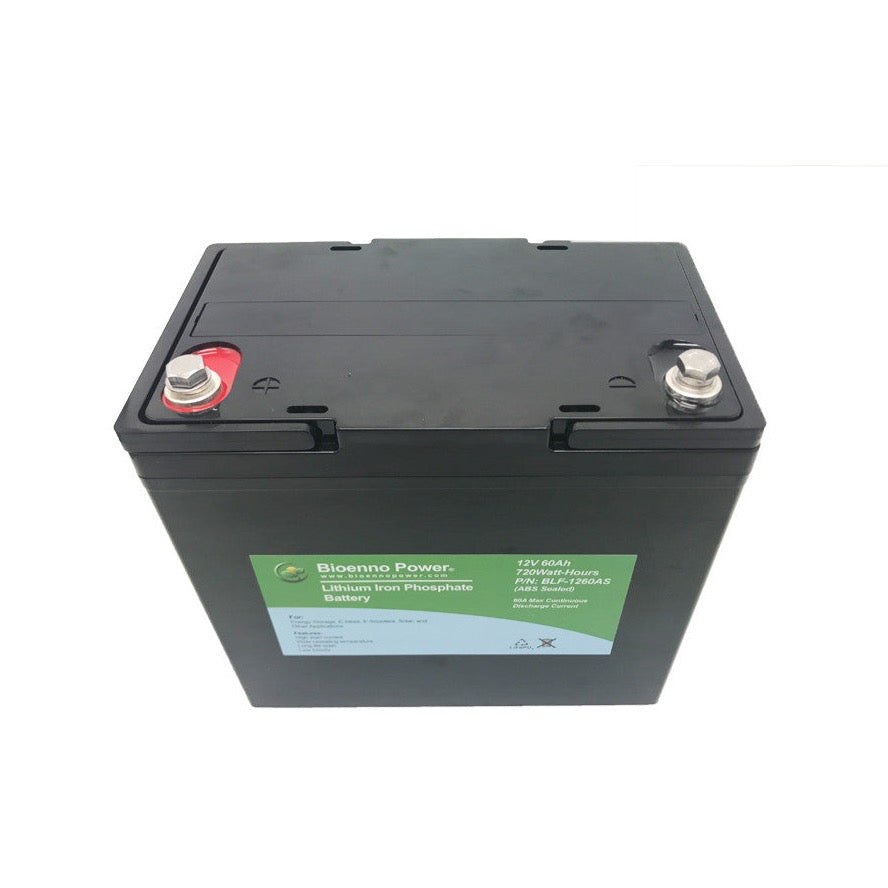
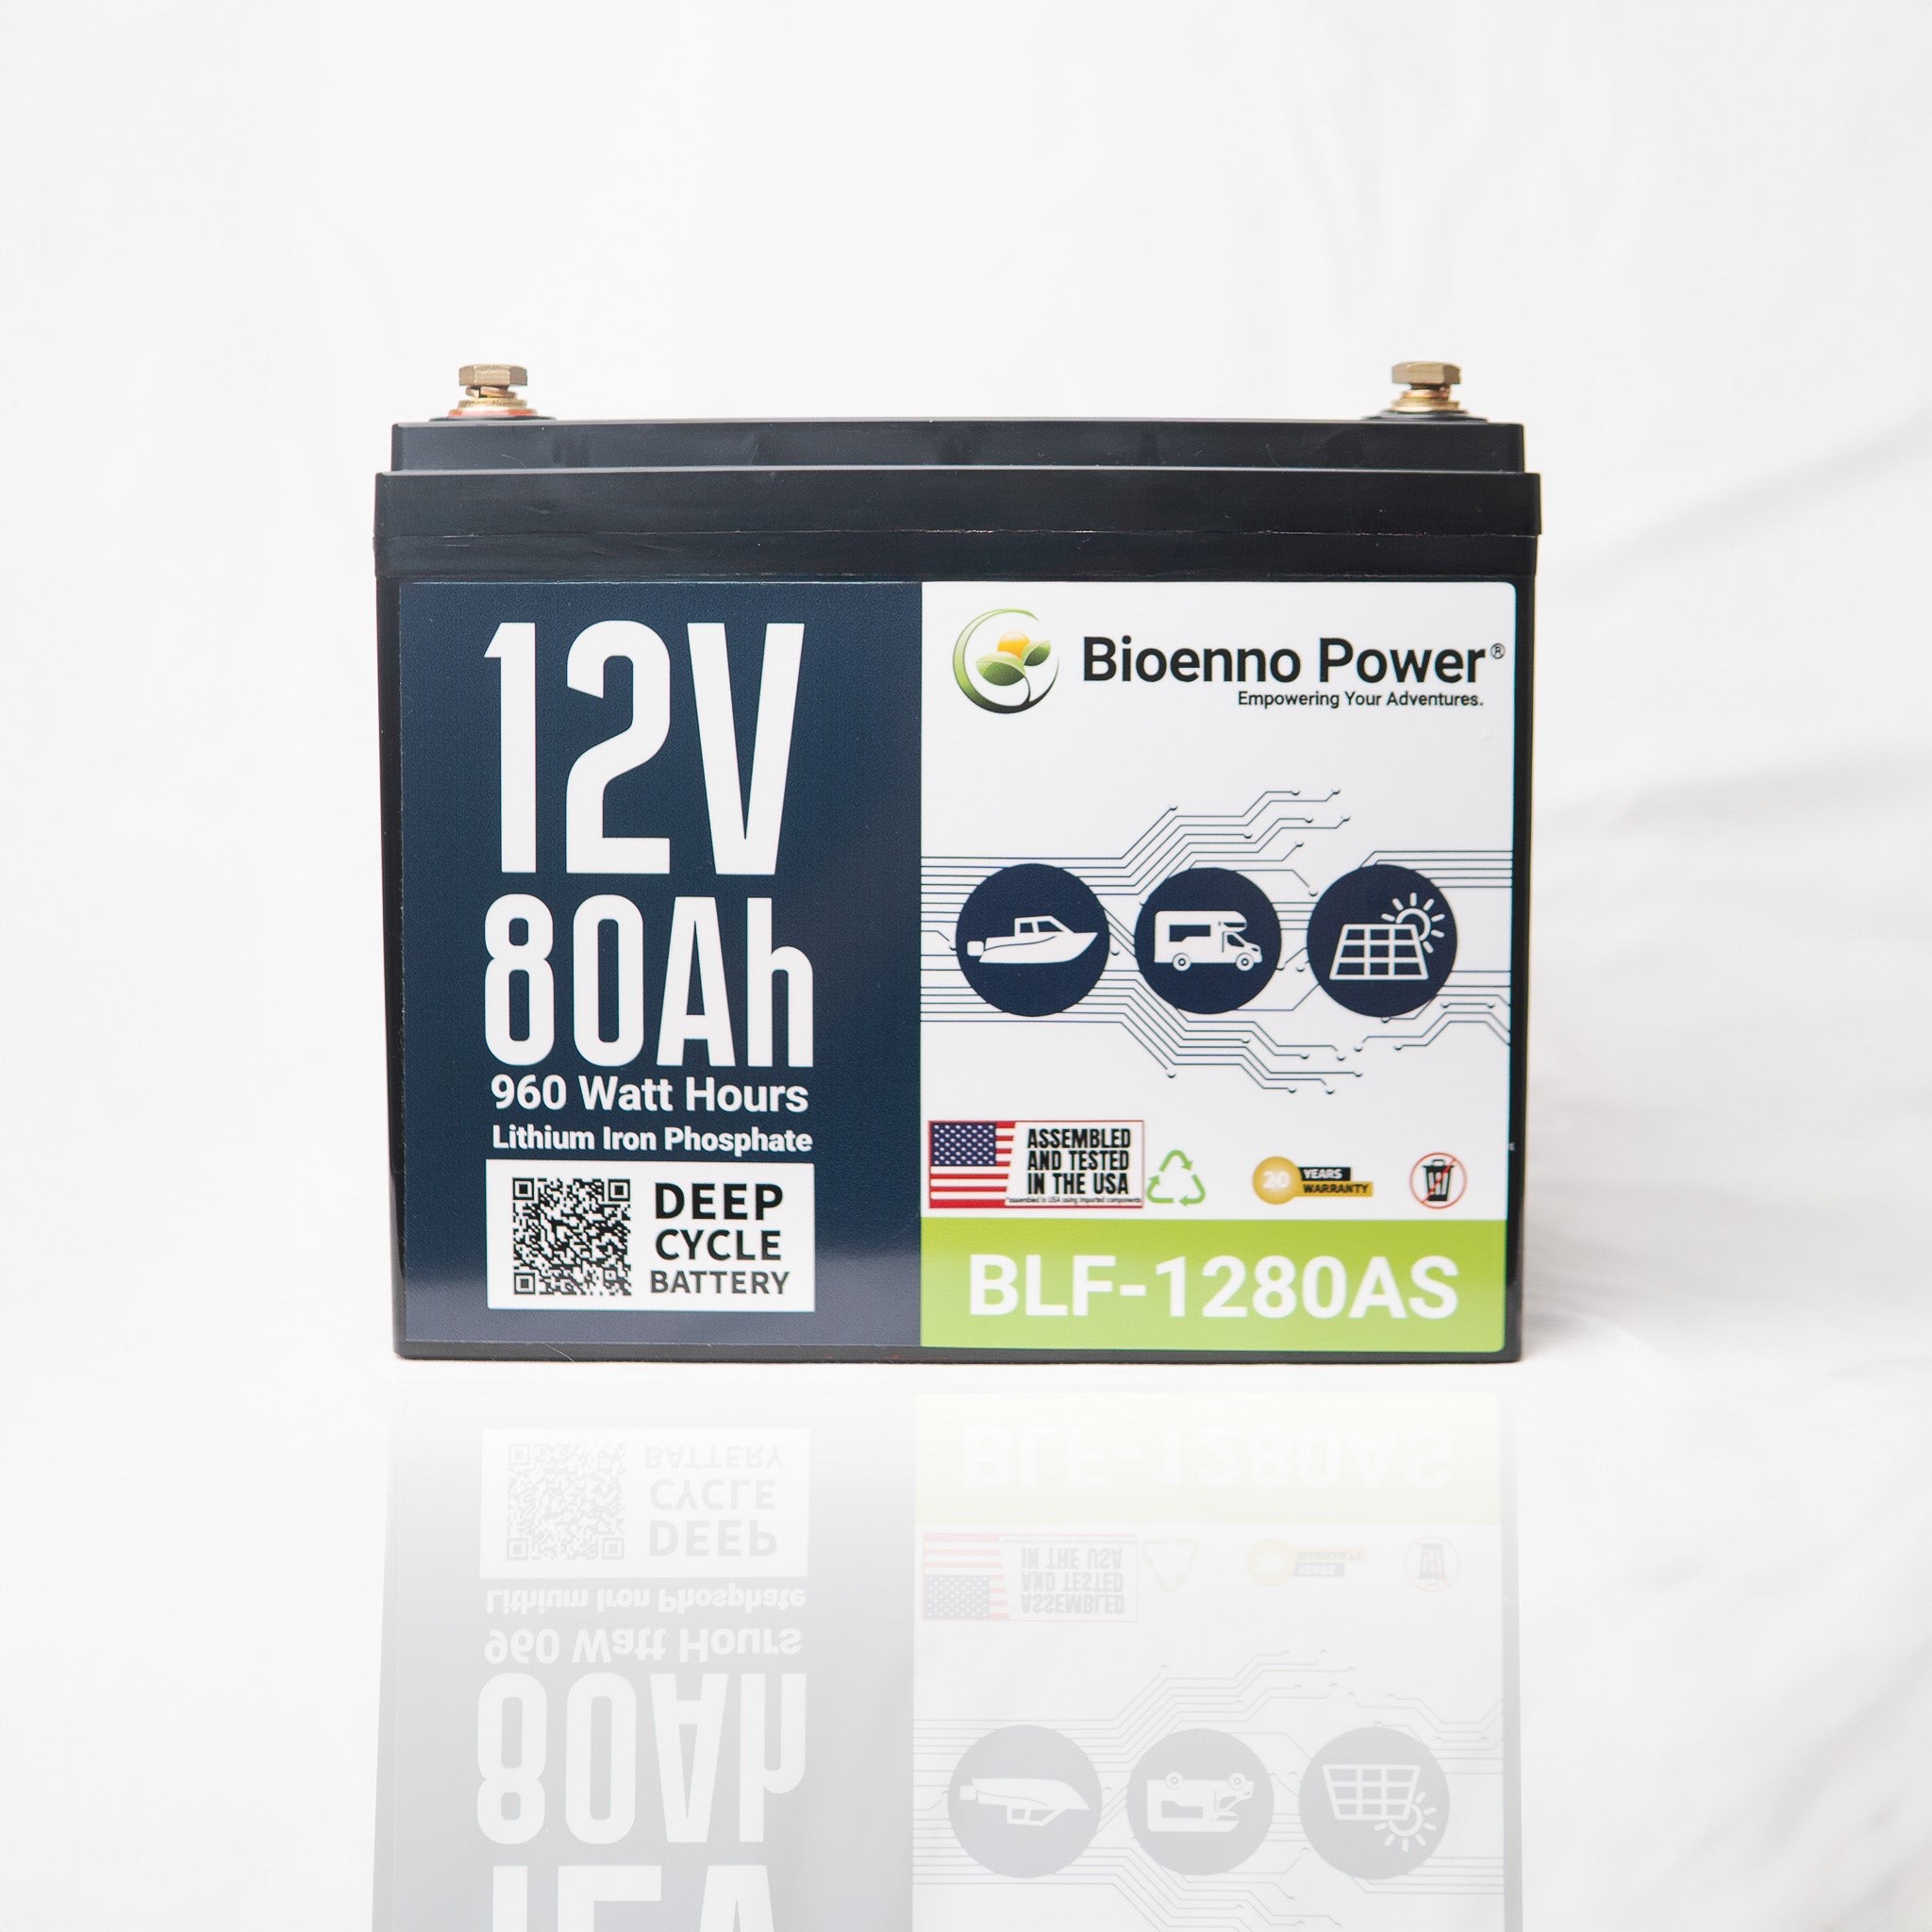
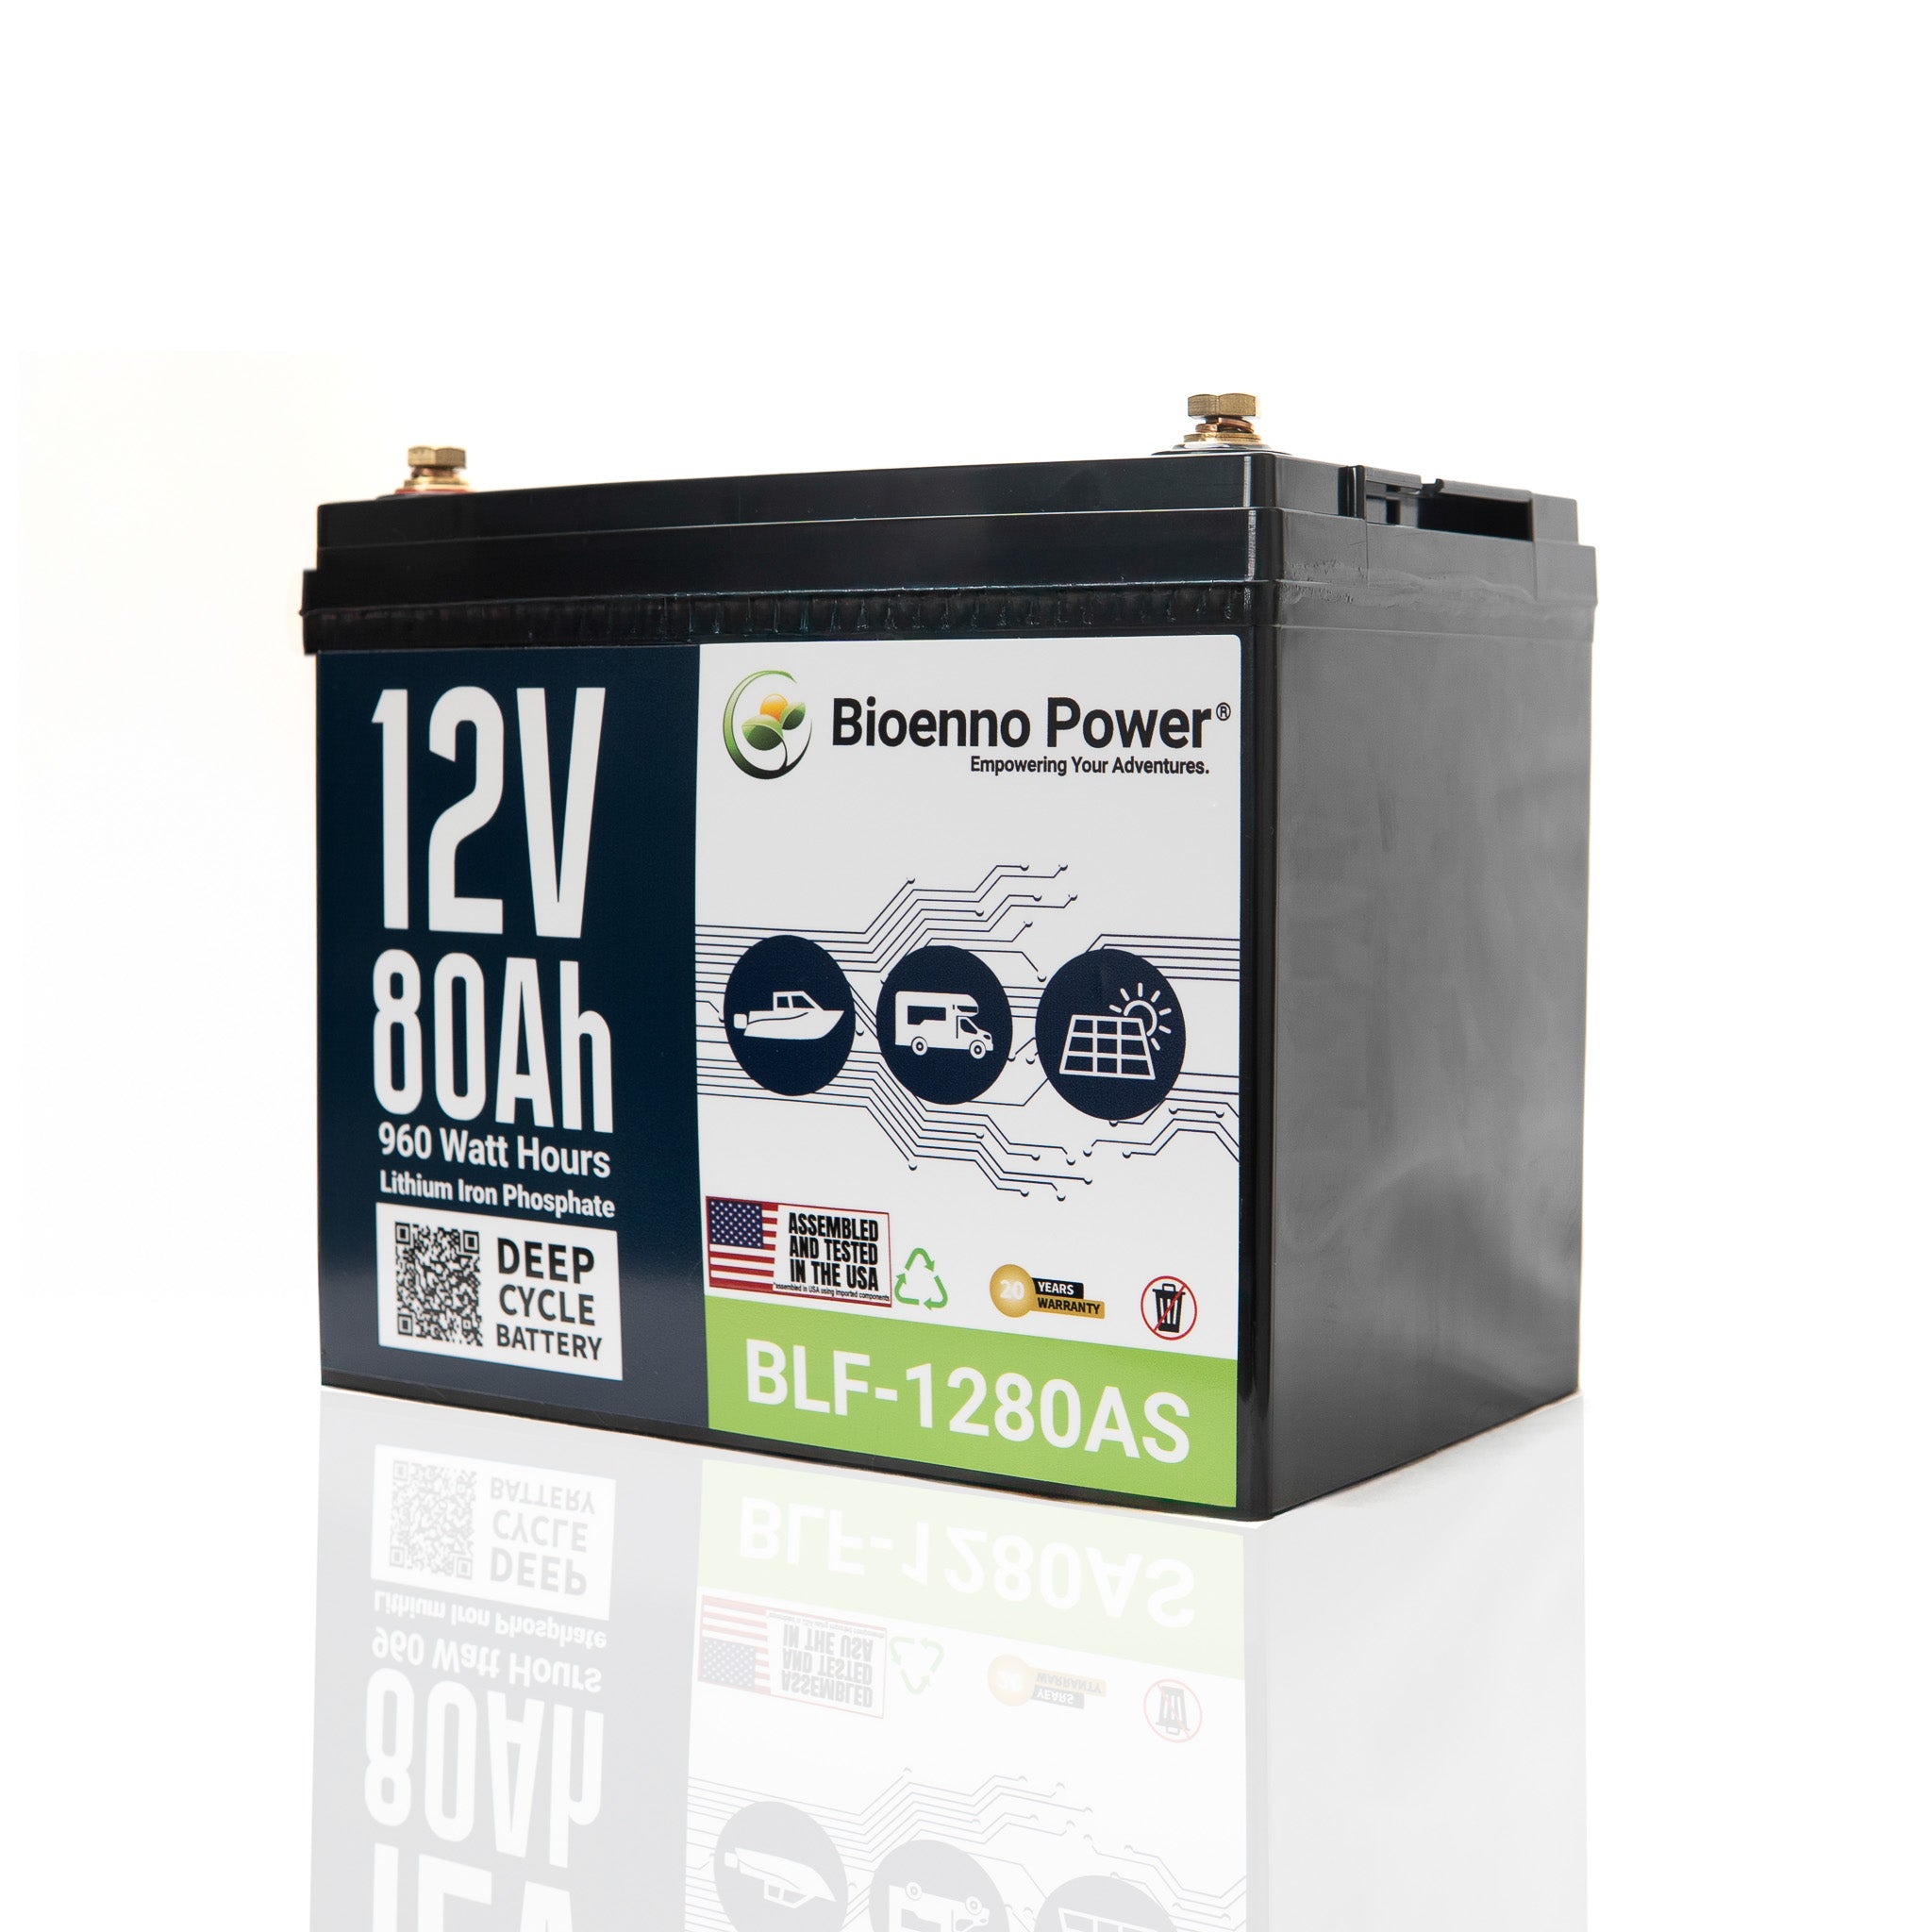
Lead-acid is heavy, and its voltage sags as it drains. LiFePO4 holds steadier through the day and weighs far less for the usable energy you get, which matters a lot when you're working inside a van, a camper, or a cabin shed where space is limited. Bioenno Power batteries are LiFePO4, assembled in the USA, and backed by a replacement warranty and US-based support. Starting small? You can browse 12V LiFePO4 batteries to see what fits your space.
Panels and Charge Controller
Panels are the easy part. The controller is where people get confused. PWM controllers are simpler, while MPPT controllers pull more from the panels under many conditions, and our post on PWM vs. MPPT Charge Controllers walks through that tradeoff in detail. Whichever way you go, confirm the controller has a LiFePO4 charge setting or a custom voltage profile.
Inverter, Monitor, and Cabling
Pick an inverter by the biggest load you plan to run, then leave headroom. And add a battery monitor. It turns "I think we have power" into an actual state of charge, so the guessing stops.
Sizing Your Battery and Panels to Your Loads
Start with daily watt-hours: the watts of each device times the hours you use it, all added up. Battery capacity should sit above that number with a reasonable reserve. Panels get sized to refill the battery in the sun hours you realistically get. Not the best case on a postcard.
Here's a worked example using illustrative numbers only, not product claims. LED lights at 20 watts for 5 hours come to 100 Wh. A laptop at 60 watts for 4 hours is 240 Wh. Phone charging adds about 20 Wh. Then the big one, a small 12V fridge averaging 50 watts over 12 running hours, which works out to 600 Wh. Daily total? Roughly 960 Wh.
A 12V, 100Ah LiFePO4 battery stores roughly 1,280 Wh at a nominal 12.8 volts. That covers the day with some reserve. Refilling 960 Wh with about 4 peak sun hours (an assumption, so check your own region and season) takes around 240 watts of panels before losses, which means you should plan on more. To see what that looks like in real hardware, you can view 100Ah LiFePO4 options as a starting point. Our Battery Sizing Guide for First-Time Solar Users goes deeper on reserves and scaling.

Wiring, Fusing, and Safety Steps That Protect Your Build
Don't rush this part. The principles below are general, so confirm every detail against your component manuals and your local electrical code. For a permanent install, consider having a qualified electrician review the plan.
Fuse and Disconnect Placement
A fuse generally belongs close to the battery positive terminal. The reason is simple: if the cabling faults, the fuse keeps it from drawing unlimited current from the battery. Add a battery disconnect switch too, so you can isolate the battery whenever you're working on the system. Ratings come from your manuals, not from a rule of thumb in a blog post.
Wire Gauge and Connections
Undersized wire gets hot and wastes power. How big is big enough depends on current and run length, so lean on the manufacturer's guidance rather than guessing. Tight, clean connections count just as much. Loose lugs are a common source of trouble.
Charging Settings and Temperature Limits
Match the controller's charge profile to the battery's documented voltage limits. Then read the battery's stated temperature range for charging, because cold weather deserves special attention. Planning a winter install? Check the manual first.
- Read every manual and plan the layout on paper first.
- Mount the battery securely and keep the system disconnected while wiring.
- Install the fuse near the battery positive and add the disconnect switch.
- Connect the charge controller to the battery before connecting panels.
- Set the LiFePO4 charge profile on the controller.
- Connect the inverter and monitor, then test with a small load.
- Recheck every connection after the first few days of use.

What a DIY Build Costs Compared With Buying
Price out a build by category rather than as one total. Battery, panels, controller, inverter, fuses and cabling, tools. And your time, which is the one people forget. Get current quotes for each category so you're comparing real numbers, not estimates from memory. You can compare battery options and accessories to fill in the battery side.
A boxed power station rolls all of that into one price, and part of what you're paying for is convenience plus the testing someone else already did. A build often costs less per unit of capacity as you scale up. But only if your time and your mistakes are cheap.
One caution here. Any head-to-head price or spec comparison with EcoFlow, Jackery, or Goal Zero needs a cited, current source, so check the manufacturers' own pages before relying on one.
When a Ready-Made Power Station Is the Smarter Choice
Buy a ready-made unit when portability, a single plug-and-play box, or minimal wiring matters most. Build when you want expandable capacity, a larger battery bank, or a permanent install. Neither choice is wrong. They serve different jobs, and honest planning starts with figuring out which job you actually have.
Choose a Power Station If
You want to carry it to a campsite, a tailgate, or a Field Day setup and have things plugged in within minutes. You're not comfortable with fusing and wiring. One warranty, one manual. That's exactly what boxed units from brands like EcoFlow, Jackery, and Goal Zero exist for.
Choose a DIY Build If
You want to add capacity later, mount everything in a cabin or van, or pick each part yourself. You enjoy the work, and you'll follow the safety steps. Sound like you? You can shop solar and outdoors products to start gathering parts (confirm each item's specs on its product page).
Fall is a good time to decide. Outage season is closer than it feels, and a system you tested in October is far less stressful than one rushed together in the middle of a storm.
Do I need a charge controller if I use a LiFePO4 battery?
Yes, in almost every solar setup. The controller regulates what the panels send to the battery. Choose one with a LiFePO4 or custom charge profile and confirm the settings against your battery's manual.
Is a DIY solar generator safe to build myself?
It can be, if you follow manufacturer documentation and local electrical code, use proper fusing and a disconnect switch, and size wire correctly. For permanent installs, consider a qualified electrician to review your plan.
How do I know what size battery I need?
Add up the watt-hours your devices use per day, then choose a battery with capacity above that number plus a reserve. Size your panels to refill it using the sun hours you realistically get where you live.