Understand alternator charging for LiFePO4 batteries
If you are building an RV, van, or overland electrical system, alternator charging can feel like the easiest win. You are already driving, the engine is already making power, and you just want your house battery to recharge while you move.
That impulse is right. Alternator charging is one of the most practical ways to keep a LiFePO₄ system topped up on travel days. But it is also where a lot of lithium systems get built incorrectly. The common mistake is treating lithium like a lead acid battery and assuming any connection that works for a starter battery will be fine for a house bank.
Why alternator charging is different with lithium
LiFePO₄ batteries can accept high current for a long portion of their charge cycle. That is one reason people love them. They charge fast and stay usable through most of their capacity. The downside is that the alternator, wiring, and connectors may get stressed if the system is not current limited.
With lead acid, the battery naturally tapers current as it charges. With lithium, the taper is often later. If you connect lithium directly and the battery demands more current than your alternator and wiring can comfortably support, you can create excessive heat and shorten the life of components.
What can go wrong if you connect it like lead acid
There are three problems that show up again and again in real RV and van builds:
-
Alternator overload and heat. Modern alternators can run hot even in stock vehicles. Add a high current lithium load and you can push them harder than they were designed for.
-
Voltage drop and chronic undercharging. Long cable runs, small wire, or poor connections can lower voltage at the charger or battery. The result is a system that charges slowly or not at all, even though it looks fine on paper.
-
BMS cutoffs that look like mystery failures. Many LiFePO₄ batteries include battery management protections. A low temperature charging lockout is a common one. If the system is poorly designed, a protective cutoff can appear as intermittent charging problems.
The simplest safe mental model for system design
If you want a simple rule that keeps you out of trouble, use this: your alternator should never be directly responsible for deciding how much current your LiFePO₄ battery draws. A current limiting device should be in between.
In most builds, that device is a DC to DC charger. It takes alternator power and converts it into a controlled charging profile for lithium.

Choose the right alternator charging hardware
A safe alternator charging system is mostly about choosing the right interface between the vehicle electrical system and the house battery.
DC to DC charger vs isolator and when each makes sense
An isolator is primarily a separation tool. It keeps your starter battery protected from house loads and prevents backfeeding. In a lead acid era, isolators were often enough.
A DC to DC charger is a charging tool. It isolates and regulates current and voltage so your lithium battery gets the right charge profile while your alternator sees a predictable load.
If you are building with LiFePO₄, a DC to DC charger is usually the correct choice. It matters most when your cable run from the engine bay to the house bank is long, when you plan to charge for extended periods while driving, or when your vehicle uses a smart alternator or variable voltage behavior.
If you’re new to alternator charging, the key idea is that the device between your starter battery and your house battery should limit current and apply a lithium-appropriate charging profile, rather than letting the house bank pull whatever it wants from the alternator.
How to pick the right charger size
Most people start by asking, what is the biggest charger I can install. A better question is, what is the right charging current for my alternator and my actual travel pattern.
In practice, match charger size to how you travel. Short drive days usually benefit from higher charge current. Long drive days can often use a moderate current and still refill the battery over time. If your alternator already runs hot or your engine bay is cramped, choosing a lower current is often the healthier long-term move.
Example: If you typically drive about 2 hours between stops and you want to replace roughly 60Ah per day, a 30A DC to DC charger can realistically put back around 60Ah over a 2-hour drive (assuming the charger can run near its rated output and the battery can accept the current). If your wiring is long or voltage drop is high, that real-world number will be lower, which is why cable sizing matters as much as charger size.
As a rough guideline, choose a charger size that is well within your alternator’s comfortable output, not the absolute max it can produce at speed. (Exact alternator capacity varies by vehicle and model year.)
If you are also planning shore charging, it helps to confirm you’re using a lithium-compatible charger profile. One easy way to sanity check options by voltage is to look through Bioenno’s LiFePO₄ charger collection.
When you need alternator protection or monitoring
If you are running higher charge currents or you have a history of alternator heat, monitoring is worth it. Temperature and voltage monitoring can reveal issues before they become expensive failures.
If you are unsure what your alternator can handle safely, treat that as a sign to choose a conservative DC to DC charger size and build airflow and wiring quality into the system.
Wiring basics that prevent heat and failures
A good charging device cannot fix bad wiring. Most alternator charging failures are wiring failures.
Cable sizing and voltage drop basics
Voltage drop is the silent killer in RV and van electrical systems. The longer the run and the higher the current, the more cable size matters.
Use this simple reality check: if the cable feels warm under a sustained charge, something is wrong. That could be undersized wire, a loose lug, corrosion, or a poor ground path.
Fuses and where to place them
Every positive run should be protected as close to the power source as practical. In alternator charging setups, that often means fusing near the starter battery and also near the house battery input.
Fusing is not only about protecting the battery. It is about preventing a vehicle fire if a cable shorts to chassis.
Grounding basics and common gotchas
Ground issues are common because people assume the chassis is always a perfect return path. It is not.
If your build has inconsistent charging, weird resets, or a charger that behaves differently depending on engine RPM, treat grounding as a prime suspect.

Battery side basics that affect charging
The battery itself affects how alternator charging behaves, especially when LiFePO₄ protections are in play.
BMS low temperature charging protection and what it means
Many LiFePO₄ batteries include a low temperature charging cutoff to protect the cells. If your battery is below freezing, charging can be blocked even if everything else is correct.
This is not a bug. It is a protection feature.
If you travel in cold conditions, plan for where your house battery lives. An interior location often helps. If your battery is in an unheated compartment, expect winter charging behavior to be different.
SOC targets and why you do not need to chase 100 percent daily
A common misconception is that a lithium battery should be charged to 100 percent every day. In real travel systems, you often care more about having enough usable capacity for your next stop than you care about hitting a perfect number.
A stable plan looks like this: charge while driving, supplement with solar when it makes sense, and size your battery so you are not living at the edge of empty.
How to think about capacity for real travel days
Think in terms of energy, not just amp hours. What matters is what you actually run.
A simple, practical way to sanity check capacity is to list your biggest daily loads and how long they run. If you have a fridge, a fan, device charging, and occasional inverter use, your needs may be moderate. If you have induction cooking, an air conditioner, or heavy power tools, your needs can jump quickly.
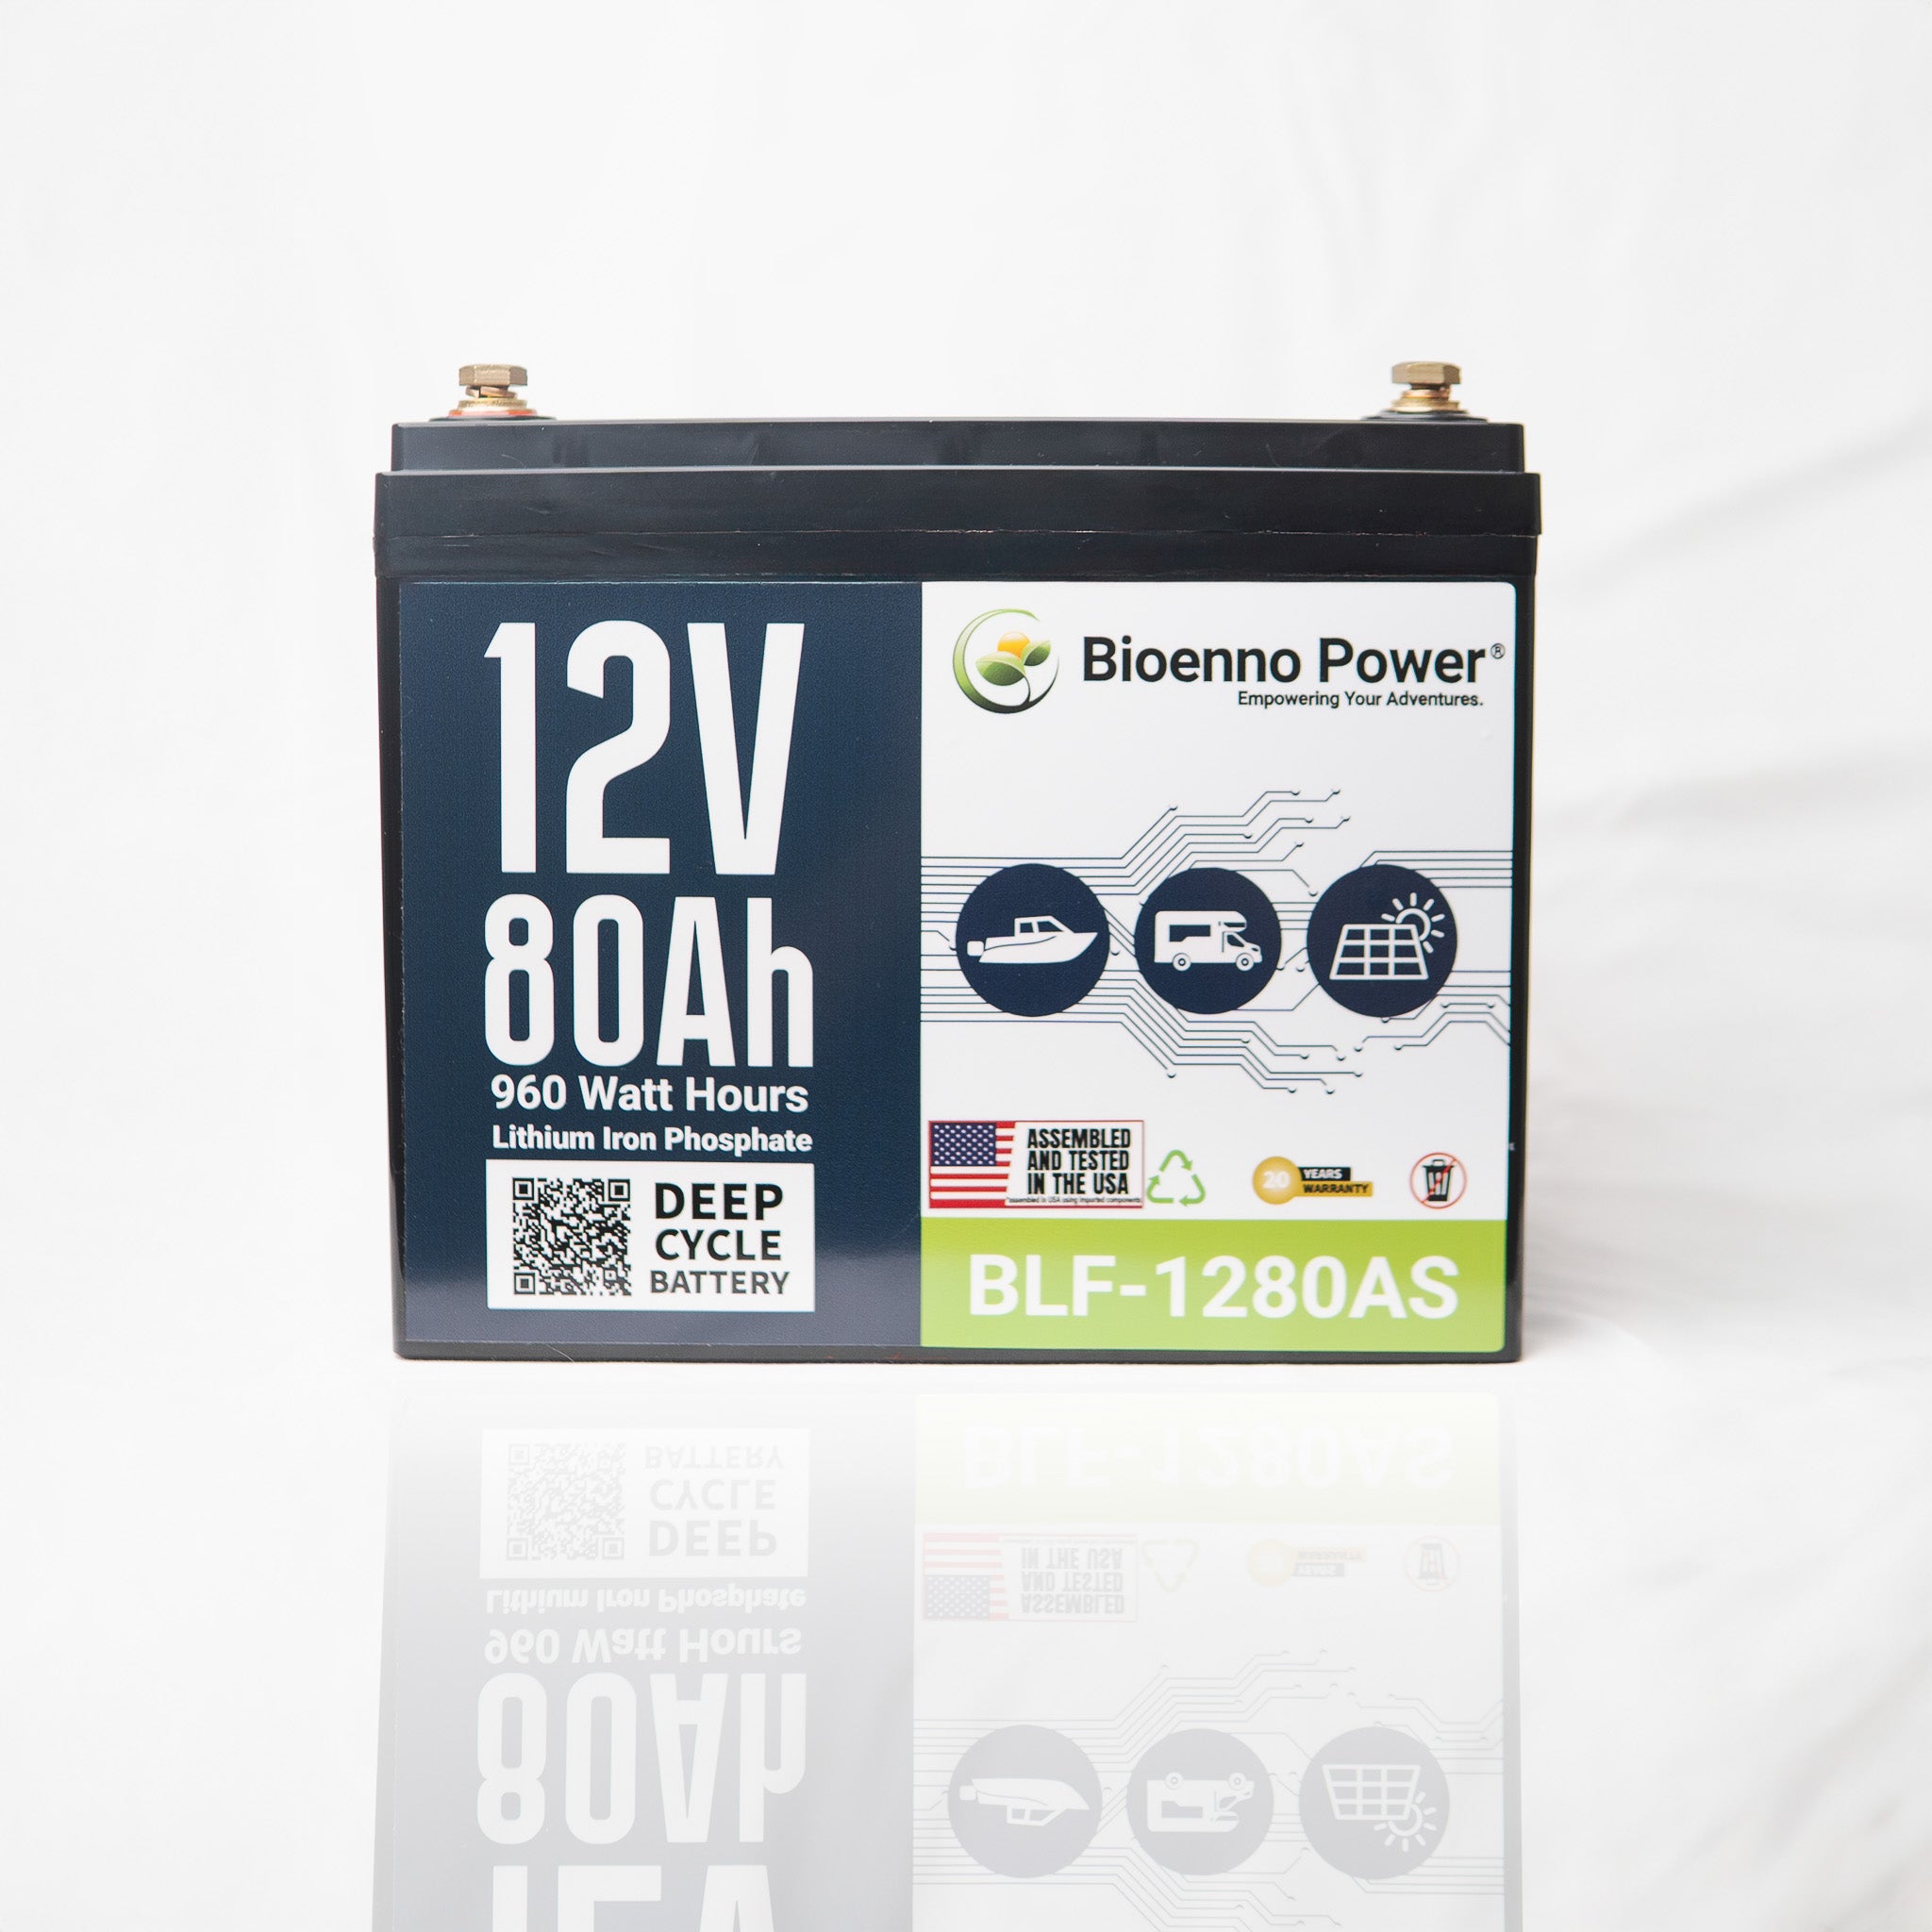
If you want a quick starting point, Bioenno’s RV collection shows common sizes people use in real rigs. For a typical 12V 100Ah class option, the BLF-12100AS product listing is a good reference point for size, weight, and specs.
Real world setups and troubleshooting
The best alternator charging setup is the one you will actually use without babysitting.
Example setups for weekend travel, full time, and high draw rigs
Here are three real world patterns that help you pick a sensible design. For weekend travel with short drives, prioritize a clean, reliable charge path. A moderate DC to DC charger that does not overtax your alternator is usually enough, because your goal is steady recovery, not extreme speed. For full time travel with long drive days, you can often run a conservative charger size and still keep up, as long as wiring is durable and the charge profile matches lithium. For high draw rigs with inverters and big loads, alternator charging alone may not keep up unless you drive a lot, so solar or shore charging usually becomes part of the plan.
Symptoms, causes, and quick fixes
If alternator charging is not working, check the basics in this order:
-
Is the charger turning on when the engine is on
-
Is voltage at the charger input high enough under load
-
Are any fuses blown or hot to the touch
-
Is the battery too cold to accept charge
-
Is there a ground connection issue
Most of the time, you will find either voltage drop from wiring or a protective cutoff that is doing exactly what it should.
When to ask for help and what details to gather
If you need support, you will get better answers faster if you gather a few details. Before you reach out, jot down your vehicle year and alternator type (if known), the DC to DC charger model and rating, approximate cable length and gauge, voltage readings at the starter battery and at the charger input under load, and the battery temperature if you are in cold weather.
Next steps and what to buy from Bioenno
Once you understand the basics, the buying decision becomes straightforward.
Pick a battery first then build charging around it
Start by choosing the battery capacity that fits your actual loads and travel style. Then build the charging plan around that battery.
If you want to compare options across batteries, charging, and portable power in one place, Bioenno’s full catalog is the simplest starting point.
Add solar when it actually helps
Solar is not required for alternator charging, but it is often helpful when you park for long periods. If your travel includes multi day stays without driving, solar can reduce stress on your system and keep you from needing to run the engine just to charge.
When you are ready to round out a system, it helps to see controllers, panels, and accessories in one place, so you can browse Bioenno’s solar and outdoor gear for an off grid setup.
Simple next step checklist
To move from research to a working system, keep it simple. Start by choosing a LiFePO₄ battery sized to your real loads. Then use a DC to DC charger to current-limit alternator charging, build wiring for low voltage drop with safe fusing, and validate charging behavior in both hot and cold conditions.
If you want an all in one portable option for smaller power needs, Bioenno PowerPacks can be a simpler starting point than a full custom install.
What this guide does not cover: vehicle-specific alternator ratings and charging limits vary widely by make, model, and model year, so treat alternator health and heat as a real design constraint and verify specs for your exact vehicle.